Since you are painting with light, you should leave lots of room around your subject. The subject should be about half or less of the frame you see in your camera's viewfinder. Around the subject you want darkness.
When you start your light painting, you will paint out to these dark edges and fill them with the patterns you create with your camera movement.
This will take some experimenting and will vary from subject to subject. You may find that a very long exposure, in which you bring up the camera gradually to cross the lights, can create an interesting edge-to-edge image, for example.
Cropping: Using a hi-res setting on your camera can also give you ample room to crop later. Try working with several higher megapixel settings to find out which works best, but be aware that the higher the megapixels the more problems you may have with 'noise' in the darkest areas. Nevertheless there may be an optimal point (a sweet spot) where your camera can function at low light and long shutter speeds without a lot of noise in the picture.
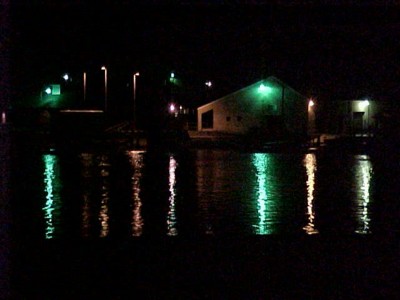
This simple night photo leaves lots of black around the lights that will be filled in later during the light painting process.
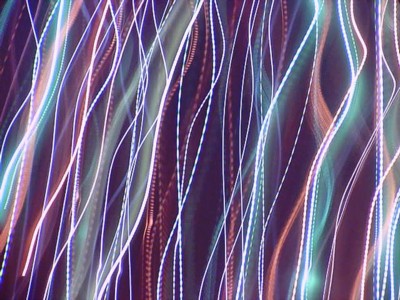
Moving the camera slowing creates this image from the lights in the above original photograph.

