Because exposures for light painting are seconds long, it is very easy to overexpose a shot with ambient light or with car headlights that accidently appear.
Exposure for light painting is very tricky. Each subject is different. In addition how fast you move the camera across the lights, determines the exposure of each point of light. By moving the camera fast across a light source, you are decreasing the exposure and thus will get a darker image. If you move the camera very fast, even a bright light will appear dim and its characteristic color (such as red for tungsten or yellow for sodium) will be part of the line.
You will need to determine both the exposure (f/stop, shutter speed, ISO) for each situation and also how fast or slow to move the camera to record the lights the way you want.
It is also important to remember that each time a line of light crosses another line of light, it adds to the exposure where the lines cross. This can be a great effect, creating bright points or it can cause overexposure that you do not want. Also overlapping large pale areas can create a ghostly, rippling or foggy effect.
It is hard to give you a good starting exposure but try the following:
ISO = 50
Shutter Speed = 4 seconds
F/stop = f/8
Color Balance = tungsten or house lights (change this to a 'wrong' white balance setting if you do not like the colors)
If the picture is too dark, lower the f/stop (to f/5.6 and then f/4) and/or increase the shutter speed. Avoid adjusting the ISO to a higher setting as this can increase noise. If the picture is too light, do the opposite.
NOTE: Generally you should avoid places with very bright lights as they will quickly overexpose your photograph. Automobile headlights, for example, are notoriously hard to work with (although for the adventurous worth experimenting with).
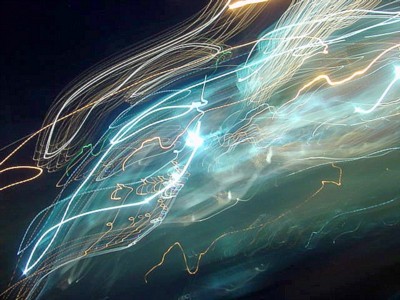
This hard to control effect includes overlapping areas of white that give this image both shading and a glow. In the very middle, one area overexposes which give this composition its central point of focus.
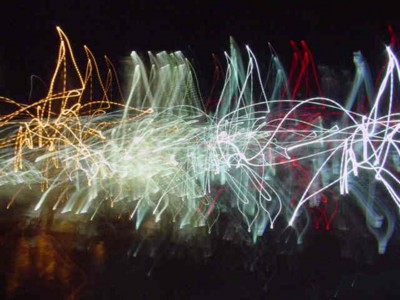
Notice how the overlapping points of light make those areas much lighter as the cumulative addition of light causes those places to overexpose.